Using Mondo and Revolut in the US
For my recent trip to California I decided to try something new and not bring any cash across the border. Instead I’d bring Mondo and Revolut cards. Latter promised no fees when withdrawing cash from ATM:s across the world.
In case you have no clue, both Mondo and Revolut are London based fintech startups. Mondo is generally based around the idea of slick mobile app and instant notifications, while Revolut is a multi currency card, again, with a nice mobile app and Google-grade exchange rates (meaning - you get same rate as if you’d Google it). I’ve been using both of them in the UK for about a month, but so far never abroad. Upcoming trip to the US sounded like a nice excuse to try them both in the hostile environment of travel.
As soon as we arrived to the San Francisco International airport, I’ve located an ATM (Bank of America) and inserted Revolut card. PIN code worked, and the ATM asked for how much I’d like to withdraw. I’ve put $400. The ATM started making noises, and moment later displayed “unknown error” message, apologised for the inability to provide any cash and ejected the card. Second moment later I got notification in the Revolut mobile app that $401.50 were deducted from my account. No cash were dispensed.
“Oh well”, I thought, “let’s try another ATM”. Minute later I found another ATM (Bank of America) and retried the procedure, but this time with just $100. The story repeated precisely - money got deducted from my account, but no cash and unknown error message. The ATM also encouraged me to call Bank of America.
I was pretty much about to leave the airport, but then stumbled on the third ATM, which was not from Bank of America. “Maybe Bank of America doesn’t like multi currency prepaid cards from England?” I though while trying my luck for the 3rd time. This time it worked. Unfortunately the ATM (I’m struggling to remember who it belonged to, it was next to the money exchange counter) withdrew money from my £GBP account and applied its own conversion rate, which was far from Google rate. While I was trying to withdraw $100, it actually took the equivalent of $115 in British pounds.
At this point we left the airport, and I finally had some cash.
Don’t get me wrong, I’m not complaining - I’m just documenting exactly what happened. The world of finances is full of traps, and navigating this sea of piranhas is tricky, even when you have cheat codes.
I haven’t tried withdrawing cash with Mondo card, but I was paying a lot with contactless Mondo. Exchange rate I got with Mondo payments was basically Google grade, even despite the fact there was only GBP account and they had to apply conversion for each payment.
Revolut card doesn’t have contactless option. In the US more then often they would be able to charge you by simply swiping your card. However things has recently changed - in places like Target they got fancy new terminals that are capable of detecting that your card is indeed chip card. Such terminal would ask you to insert the chip card and enter PIN code. With Revolut card I suddenly started getting rejected PIN code entries, even when I was 100% sure that the code is correct.
Quick contact to the Revolut support (which is fast and excellent) revealed that I have to “activate” the card by putting it into the ATM, entering correct PIN code and checking the balance. It is worth mentioning that I have anticipated such behaviour and have activated the card while still in the UK. It seems that you have to activate the card in each particular country separately when travelling.
Indeed after another successful trial of withdrawing money in the local ATM of the Target (which also took $6 of fees), Revolut card started working perfectly fine. While in San Francisco there are surprisingly little places where you are unable to use cards for payment nowadays. The only exception I can think of was CalTrain tickets machine, which was declining both Mondo and Revolut cards, and I had to produce some of good old cash.
Back to the story with $400 lost in the void. I pretty much immediately posted Revolut support, and they replied that indeed money is frozen on the account, and will be automatically released back to me in about 10 days. They also told the only way of speeding up the process is contact the ATM owner and ask for a special code. I called Bank of America on the next morning, they were very polite, but basically told me same story and couldn’t speed up the process in any way. 5 days later money was released and appeared back on my USD Revolut account.
One thing I realised half way is that Revolut allows you "fee free" cash withdrawal only up to certain fair use limit - $700 in case of US dollars. Frozen money was counted towards fair use and maybe that was the reason for all those ATM fees? I've contacted the support, and they confirmed that I indeed overused the fair use limit. I've explained the frozen money issue, they agreed to refund. Moment later I got $1.58 refunded back to my account.
There was another funny glitch with Bank of America. You remember when I tried for the second time to withdraw $100 from they ATM? 3 days later they charged my GBP account on Revolut for this amount, but then refunded it back… to my USD Revolut account.
Some conclusions
Depending on the location you might not even need too much cash nowadays. For cashless transactions both Revolut and Mondo are quite excellent. Just remember to PIN activate both of them (I assume Mondo will require the same procedure). For cash however ATM:s will impose a withdrawal fee, which will variate from anything between $1.50 to $6. Also never go with the ATM:s proposal to use their conversion rate. It's a trap.
UPDATE 22.3.2016: Mondo pinged me and said they don't require you to PIN activate card when travelling.
Daily vlog for a week
During our recent trip I’ve tried making and posting short video logs every day for the whole duration of the trip. It turned out to be 8 days long, and hence 8 episodes of the vlog are now available online.
In a way this felt like a filmmaking hackathon. There is only one basic rule - every night you must cut and release new episode whatever the cost. On average post production on each episode took about 2 hours, which often meant I had 2 hours less for sleeping. Nevertheless, it was a huge fun. Two of my colleagues - Roman and Kadi - were on the same trip, and luckily tolerated myself pointing camera at them and occasionally stopping in the middle of the busy street to film random things.
In this blogpost I want to gather some ideas and words on how it all went. And maybe put a few notes on future improvements.
Hardware
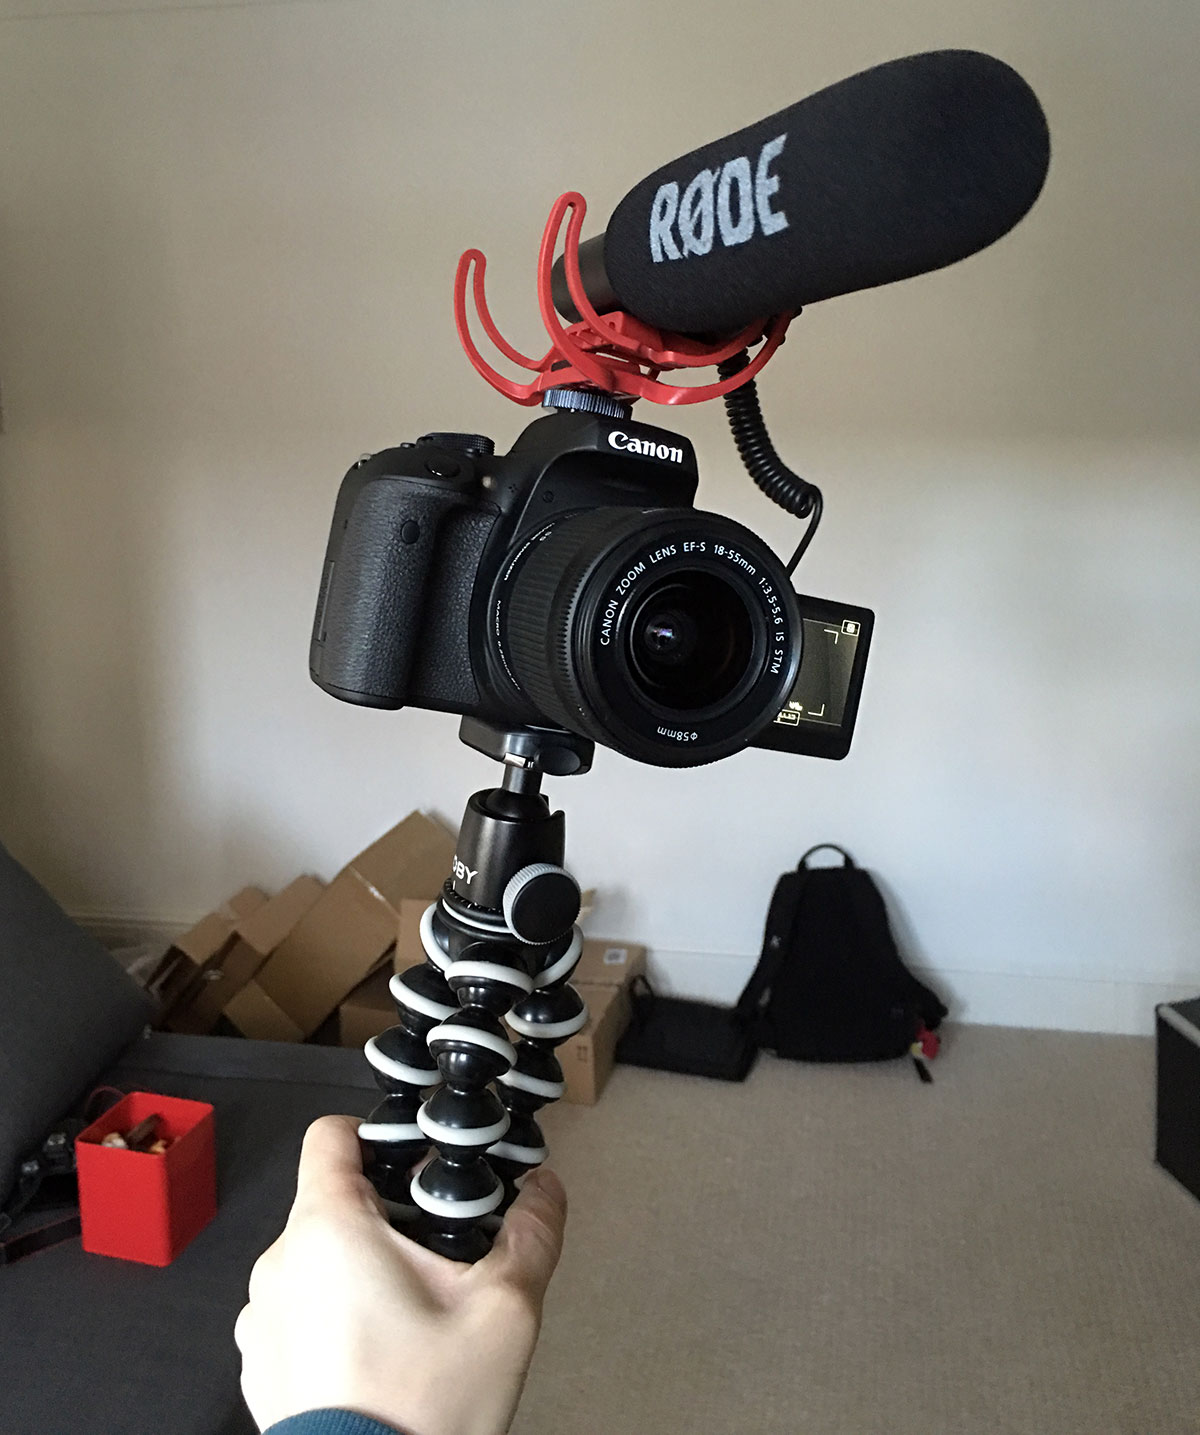
I’ve used new Canon EOS 750D camera attached to Gorillapod, with external mic by RØDE. The mic turned out to be much larger than I anticipated (always check the specs!). It also required its own 9V battery. This led to 2 consequences:
- Increased overall rig weight
- Attention from the strangers on the street
I generally aim at the least attention on the streets. DSLR camera itself doesn’t draw looks anymore, but having a huge mic attached to it does change things. Suddenly you are perceived as a videographer, and a professional one. This eventually led to the fact that I mostly used the big mic indoors only, and reverted to the built in mic for streets. It worked rather well, except when it was really windy.
Combination of 750D with Gorillapod (and Joby’s head) was a huge success. I had no camera strap, and carried camera by having the tripod in my hands all the time. This turned out to be quite handy. At any moment I could quickly setup either a handheld shot, or put the tripod on the ground and film timelapses. Each of the Gorillapod chains on its legs also contain rubber rings which makes it super reassuring to hold with just one hand.
Camera
750D can shoot full HD video at 25fps. As usual it packs it into H.264. Not exactly cinema grade, but more than enough for YouTube HD. Having a photo lens in front actually contributes to cinematic experience much more than uncompressed 12bit colour - you can have selective focus and nice blurring any time you want.
This leads to another issue - focusing. In the beginning video capable DSLR:s had no auto focus whatsoever. This camera does feature automatic focus during the video. It is however not great. With handheld filming you often end up shooting something close, and then changing perspective to a landscape. It takes a few seconds for the camera to figure out that the scene has changed, and another few seconds to adjust the focus. What can drive you mad is that first camera tries to adjust the focus the wrong way, and then goes all the way back, slowly.
Auto focusing is even less reliable in the night. Bright lights confuse it a lot.
I ended up pre-planning shots in my head and then often switching to the manual focus and using focus ring on the lens. It takes a bit of skills to operate it fast, but it does work. Another life hack is to turn the auto focusing off and then on again. There is a touch button on the viewfinder for this specific purpose.
Music
All music is Creative Commons and is from Soundcloud. Their advanced search is not super great, but it does allow you to search for tracks that allow you sharing and re-using. Soundcloud been my source of nice free music also for all the podcasts.
Editing
All the editing is done in Adobe Premiere. It is possible to use pure trackpad for that, but I think having a mouse speeds things and precision a lot. Despite editing fast you still want the video to be cut precisely on the music beat.
I’ve spent roughly half of the time doing draft cut, and then going over it again and cutting out all the unnecessary parts. Generally each episode is 5 to 9 min long. As some directors say, cut away everything you absolutely can’t live without.
Streets experience
We’ve spent most of our trip around San Francisco area. Our base was at Inner Richmond, which was a very nice an quiet area. Central city is much weirder and felt less safe. A friend of mine after seeing the rig asked me to take an Uber (it was late) and not carry it around the city.
Having two friends more or less constantly around helps a lot to feel safe when strolling Mission district at night. I think there was only couple of occasions when I was only by myself, and on one of those a stranger old women came to me and started asking with a huge suspicion in her voice why am I filming wires on the street?
Feedback on structure
Constructive feedback on the structure of episodes was mostly around things that I’ve accidentally promise on the video and then would never show. Obviously we had no script and everything was just happening and I was filming whatever was around. I also tried not to film the food we were eating, conference we were attending, and the concert we were going to out of town. On occasion the episode would become more or less random.
I think structure is something that should be improved going forward. The aim is to produce a small film every day, and film does imply certain rules.
Future
I’ve certainly enjoyed doing this. I’m not going to do this every day. But on occasions I think this is a great way of having fun.
Virgin Media broadband - the honest installation guide
Don’t get me wrong, I (mostly) enjoy new fibre broadband from Virgin. Last week I got it installed and working. The process however was slightly different from the Virgin’s 5 min installation guide. So I wanted to put it all together, here. The honest guide.
It took 2 hours and 2 calls to the support. Then it worked. Not to worry, here’s how to avoid those calls.
Pre-requisites
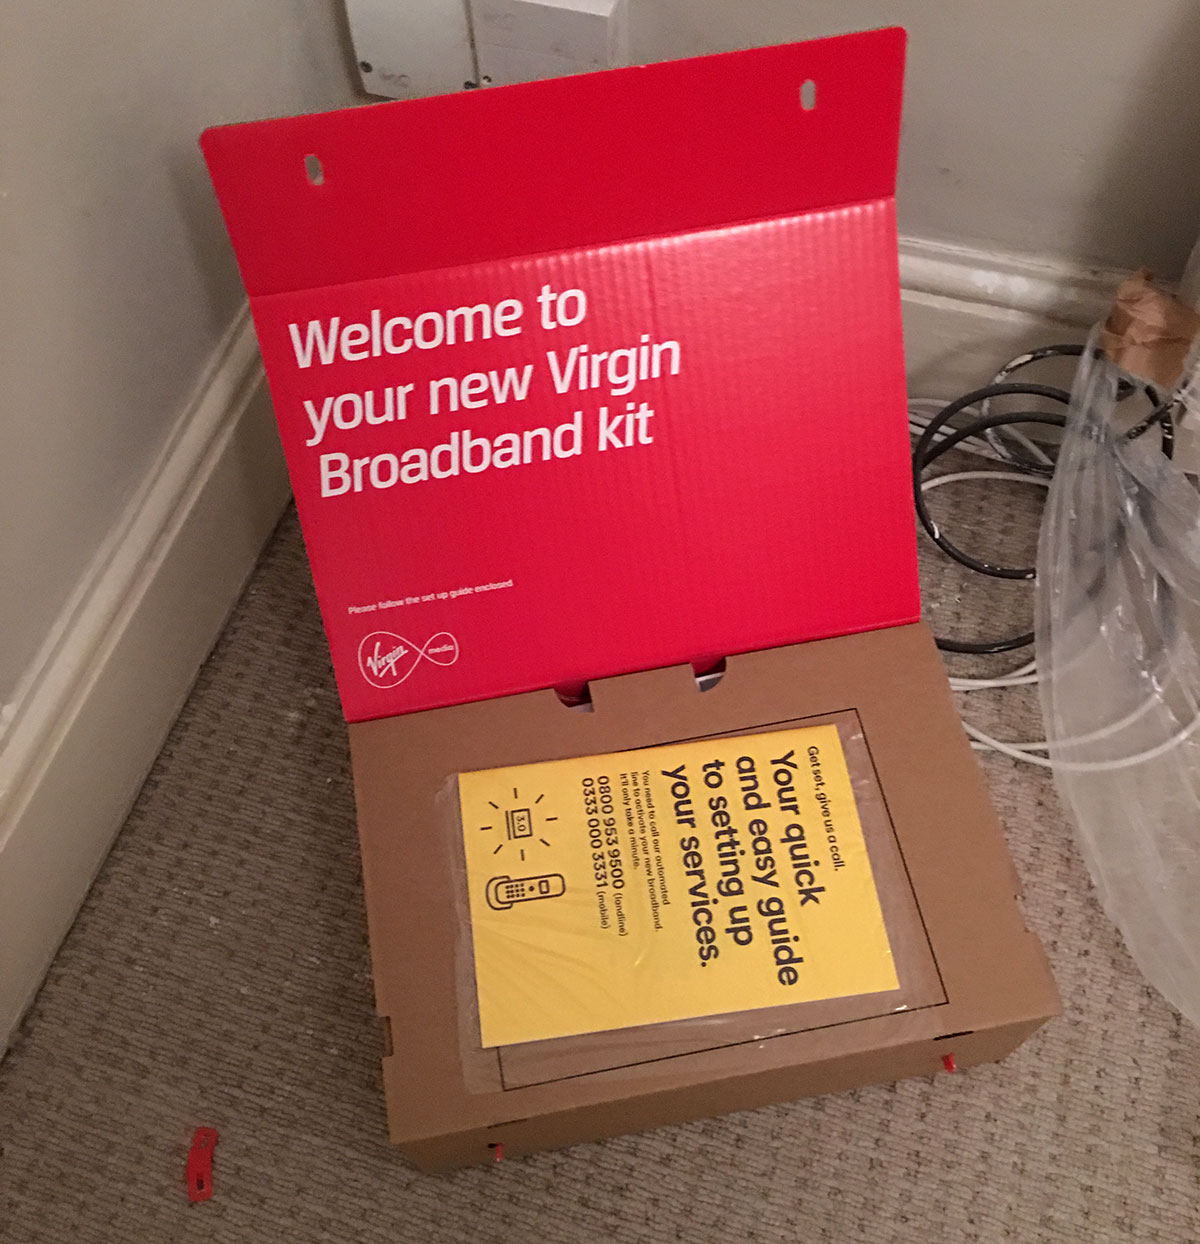
Box from Virgin Media arrived with Super Hub and cables. You already have Virgin socket in the house.
Part 1 when you activate The Signal
Connect everything. Don’t turn on the Hub. Make the call to the Virgin automated number. Have your Virgin account number and area reference number on hand. Both can be found in the email that was sent prior to the box dispatch. You’ll find them on top of the email. Area reference code is 2 digit long.
If you’re confused at any point during this automated call, the robots will ask you random characters from your Virgin account password (have it at your hands too) and then will connect you to the human. Virgin humans been very helpful (and patient) with me.
But generally you only need your account number and area number. As soon as you type those, The Signal should be activated.
Part 2 when you try to activate the activation
Once The Signal is activated, you can boot up the Super Hub. It will take ages to boot, but then you should be able to see Internet light all green. Don’t be happy - it’s a trap. There is no Internet yet.
As the guidebook will warn you, before you get Internet you have to navigate to Virgin Media / activation site and activate everything once again.
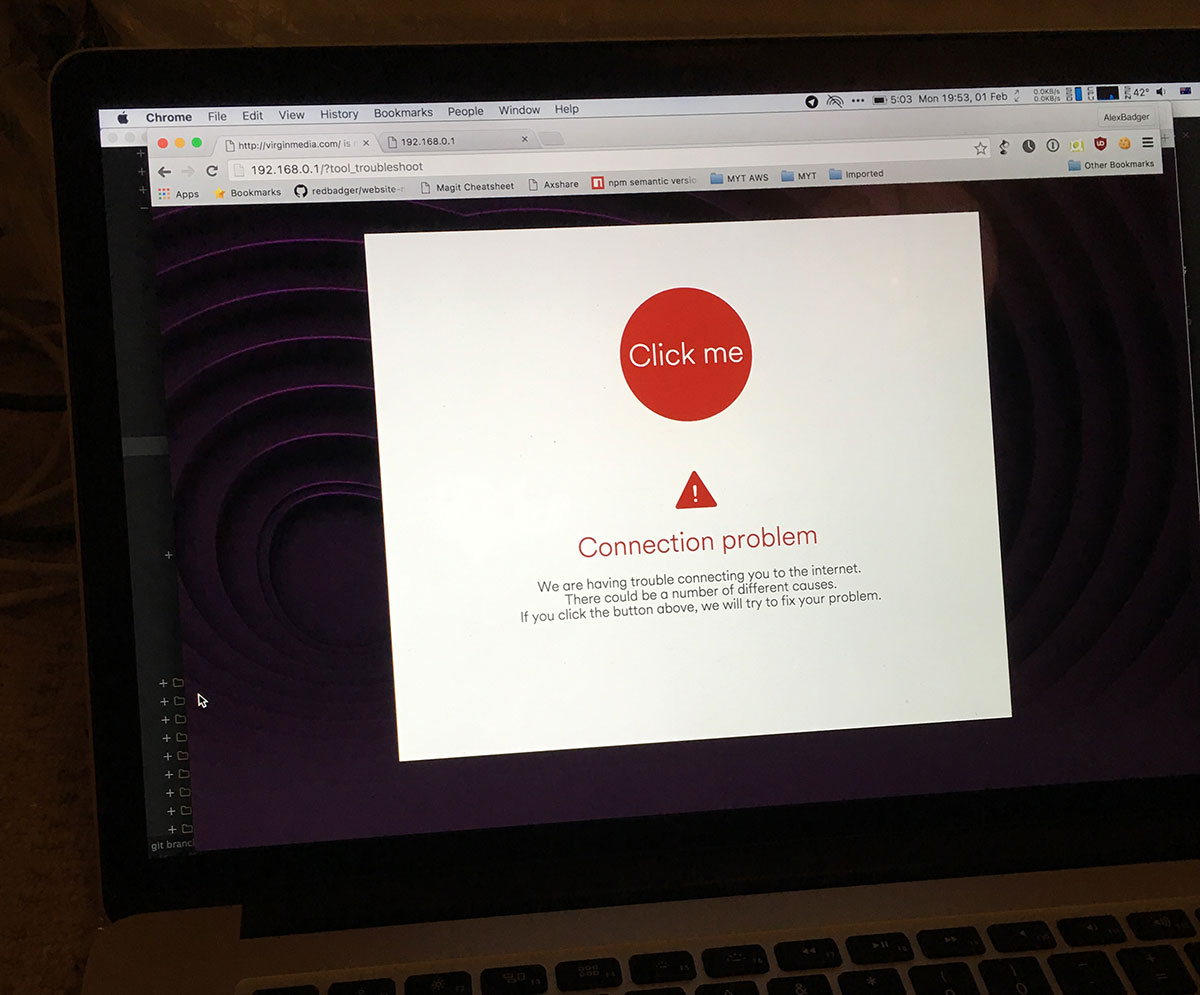
Tricky part for me was that it didn’t worked on Chrome. I don’t know why. You also are not sure when is the right time to try. Ok, if you’re on Mac - open up Safari and try there. Safari worked nicely and managed to open the activation site.
After navigating through and registering myself again it displayed a message saying something about settings being updated on the Super Hub. The Hub indeed slowly rebooted, and…
Part 3 when Super Hub is waaay to cool to be super
Super Hub was blinking the Internet light for some time. Then it blinked red Internet. Then it rebooted again. This loop continued for some time. No Internet.
At this point I called the support for the second time. They checked things and asked for how long exactly I’ve been waiting before calling them. I said - 17 minutes. They said “your Super Hub is one of those newer models, so it takes up to an hour to connect. Call us back in an hour.”
This turned out to be true. After about 40 mins of reboots Super Hub started providing The Internet.
How I was imagining it to work
This is a bit silly, but I know some companies are investing serious budgets into user research. Here it goes, free.
Open up the box, connect Super Hub to Virgin socket. Boot up. Internet.
The Signal should be activated automatically on the same day when box is dispatched. No user action should be involved. Also no silly “navigate to our activation site before you get full Internet” thing should ever be there.
That’s great, but how fast is the internet after all?
Not bad. It drops to 5 Mbit during peak hours between 20 and 23 o’clock, which is a bummer. Otherwise it is in double digits, and gets to an honest 100 Mbit during night and early morning. We live in London E17 by the way.
E2 to E17
Couple of weeks ago we moved from Bethnal Green to Walthamstow, and it was our first big move inside London since we moved here 2 years ago from Finland. E2 to E17. All post indexes are indicating direction from the central London, and in a way by a greatness of number you can tell how far it is.
Prehistory
I remember the original plan when moving here was to find temporary small place, cheap but not too far from the City. Something around £800 / month. Meanwhile we’d settle down, save some money and move on after 6 months or so to a more decent place.
There were few fundamental flaws in this idea which I didn’t spot originally. To start with, lots of people are flatsharing here. If you’d be up for a shared flat, it is possible to find a room for under a grand / month. Decent room would cost around £1000 and would be located in zone 1-2. There seems to be a hidden agenda of most agencies to get people into flatsharing for as long as possible, hence driving rent prices even higher for a single flat.
Separate decent flat with 1 bedroom in zone 2 starts at around £1200. There are obviously anomalies for less, but there always will be something wrong with the place. Or you are simply very lucky person and landlord needs to find a tenant super fast. Our previous 1 bedroom flat in Bethnal Green was 1230£ / month. Plus £77 council tax - which is quite low by local standards. The reason being that flat itself was tiny. Living room was effectively combined with kitchen, and bedroom was a size of a good clothing cabinet by Finnish measures. There was also a nice view towards skyscrapers of the City, and a ridiculously short commute of 10 min on a city bike to Old Street. 20 min to Clerkenwell.
Another thing is that most of contracts start at 12 months minimum term. If you decide to move earlier, you have to keep paying the rent until landlord finds a new tenant. After first year you can continue living in the same place without contract renewal with agency - there is a law about automatic tenancy continuation, but the agency will try to get you sign contract renewal for extra fees in the end of each fixed term. In any case - finding a temporary place for less than a year is hard.
We ended up spending 2 full years in our flat at Bethnal Green. It’s a decent solution for an “outgoing” type of life, but doesn’t really offer any perspective. Towards the end of 2015 Stanisla started looking for a new place. Flat hunting is another sensitive topic for any person living in a sizeable megapolis. Stanisla was spending every free minute online, refreshing new flats and sending out viewing requests. A decent option would quickly gather lots of people willing to see it, and agency would arrange a “pillow fight” day - when all 33 people would show up at the same time to view the property. We were aiming at something with 2 bedrooms and some sort of a private garden. Such properties would start at around £1400 in zone 3. Add council tax of about £150, higher utility bills and £140 monthly cost of a tube card.
After some months of fruitless search I remembered that most of badgers of Red Badger are living in a fairytale place called Walthamstow - with some exceptions living in Leyton. Stow is a bit off town, still zone 3, with a Victoria line and overground trains straight to Liverpool street. One of my wishes was also bikeability to the office. Google Maps promised that you can indeed bike in under an hour from Stow.
Stanisla kept looking until Christmas when she had a breakdown and thoughts of doubt about finding anything decent for a remotely affordable price. Then suddenly after New Year holidays she found this place - 3 bedrooms, small private garden, 5 min walk from overground and tube stations. £1325 / month.
Paperwork
There is a lot of bureaucracy involved when trying to rent a flat. Generally, if you like the place, the process goes as follows:
- Pay the reservation fee, preferably right away. This way you express your interest in renting the property, which in turn kicks off the whole process. £500 in our case. I suspect it is non-refundable, as pretty much all fees in here.
- Get through the referencing process. Agency would hire another company to do that. Referencing company will aim at knowing everything about you, will phone your employer, bank and current landlord. You must have good relations with your current landlord for this very reason. You will also have to provide an extensive report on your income, and they will verify this with your employer.
- After successful referencing the agency will ask you to immediately pay full remaining monies consisting of 6 weeks rent deposit, current month rent and referencing fees imposed by agency. It’s a small fortune comparable to a budget of a small country.
- You sign the actual renting contract. It will consist of 11 pages listing your obligations and 1 page of agency and landlord’s obligations. No pets.
- And then you get the keys.
In our case the agency ringed me 10 min later and told that they gave us wrong keys. At that time we were choosing nesting box at a local Wilko.
The move
Moving within boundaries of London turned out to be easy. There is a special online service where you describe scale of the disaster, and men with vans are competing to provide best price and promise of a service. Stanisla honestly described 11 cast iron sewing machines, 4th floor of the original flat and lots of heavy boxes with books. She also mentioned that she will not be carrying boxes. We went on with the proposal of 2-3 men with big van for £300. Feedback thread was full of “amazing service” and “polite movers” messages. We pre-paid £60 and agreed on 8am Sunday to start the operation. Another slot would be 2pm, and that’s because they are moving 2 houses on a normal day. Impressive.
Saturday we spent packing everything that wasn't already packed by Stanisla during previous 2 weeks. Our tiny apartment featured quite a lot of stuff in the end. At some point we ran out of boxes and did a trip to the local Tesco. It didn’t sell any moving boxes, but they had bunch of boxes just lying on the floor ready to be thrown into rubbish. They gave us all boxes for free as much as we could lift.
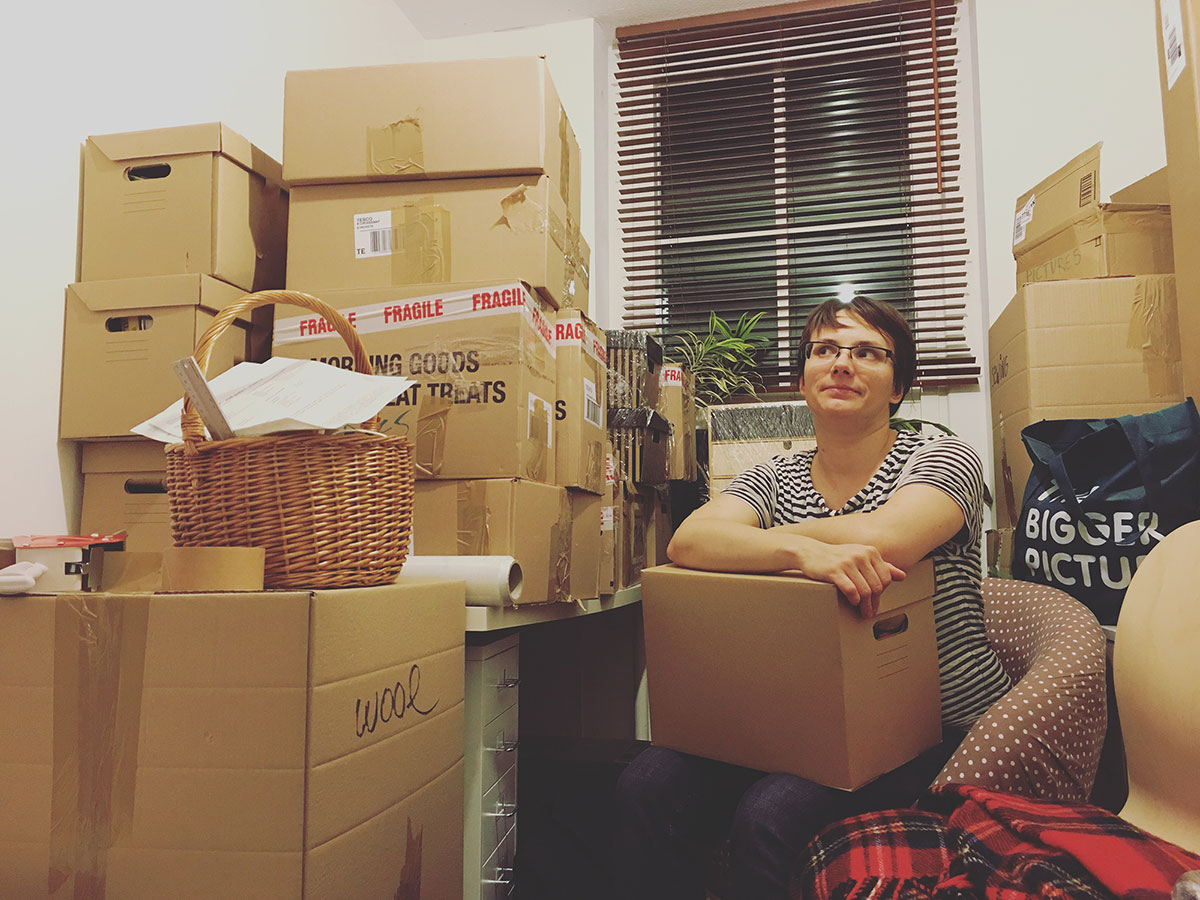
Men and van arrived perfectly on time, loaded all boxes, furniture and sewing machines into a van in about 2 hours. First part was tricky since you had to climb all the way to the 4th floor. As they were carrying boxes, we cleaned the place and threw the rubbish away. Then we moved to Walthamstow, where they unloaded everything in probably less then one hour. Stanisla was steering the unloading process by guiding boxes into correct locations. It was before midday when the operation was fully completed.
Aftermath
After a week here this seems to be a huge success. Area is very nice. We met our neighbours and they invited us to a local concert of classical music. We actually went there - it was in the old church on the other side of Walthamstow, proper 2 hours concert with drinks during the interval.
We have 4 rooms now with quite a bit of potential. 2 of them are quite tiny, and 2 others are slightly bigger. There is also a garden which we can observe but cannot visit - door is completely stuck and would not open. Apparently it’s a common issue during winters.
I’m getting a dedicated mancave room. Considering about “VR research” sign on the door.
We also found an attic, which was completely unexpected. Thanks to the fact that we’re living on the top floor, there is a proper attic with lots of space. It is so big that someone could probably sleep in there during summer.
Kitchen is also alright. You can actually sit in it and have some lunch.
I will write a separate post on changing address with banks, services and utilities. Stay tuned.
Hateful 8 roadshow event in Panavision 70mm
London is a dream place to be if you love cinema. Not only you get to stumble on film sets while biking to the office in the morning, but also there are all sort of events and places to watch films. Last year Christopher Nolan released Interstellar in IMAX 70mm 15 perf format, which is considered biggest frame size resolution-wise. It is rather awesome, but most of cinemas including IMAX are not equipped anymore to project such stock. BFI IMAX was literally one of few places to do so in the country.
Tarantino was apparently impressed by another rare film format - ultra wide Panavision. With the aspect ratio of 2.76:1 it was originally projected on a curved screen using 3 synchronised projectors. If memory serves me, they also originally shot films by using 3 x 35mm cameras with conventional 4x3 aspect ratio. This proved to be highly inefficient and was later replaced with a single camera, anamorphic lenses and 65mm film. Only 10 films were released so far in Ultra Panavision 70 format between 1957 and 1966. Hateful 8 is officially 11th film to be released in this rare format.
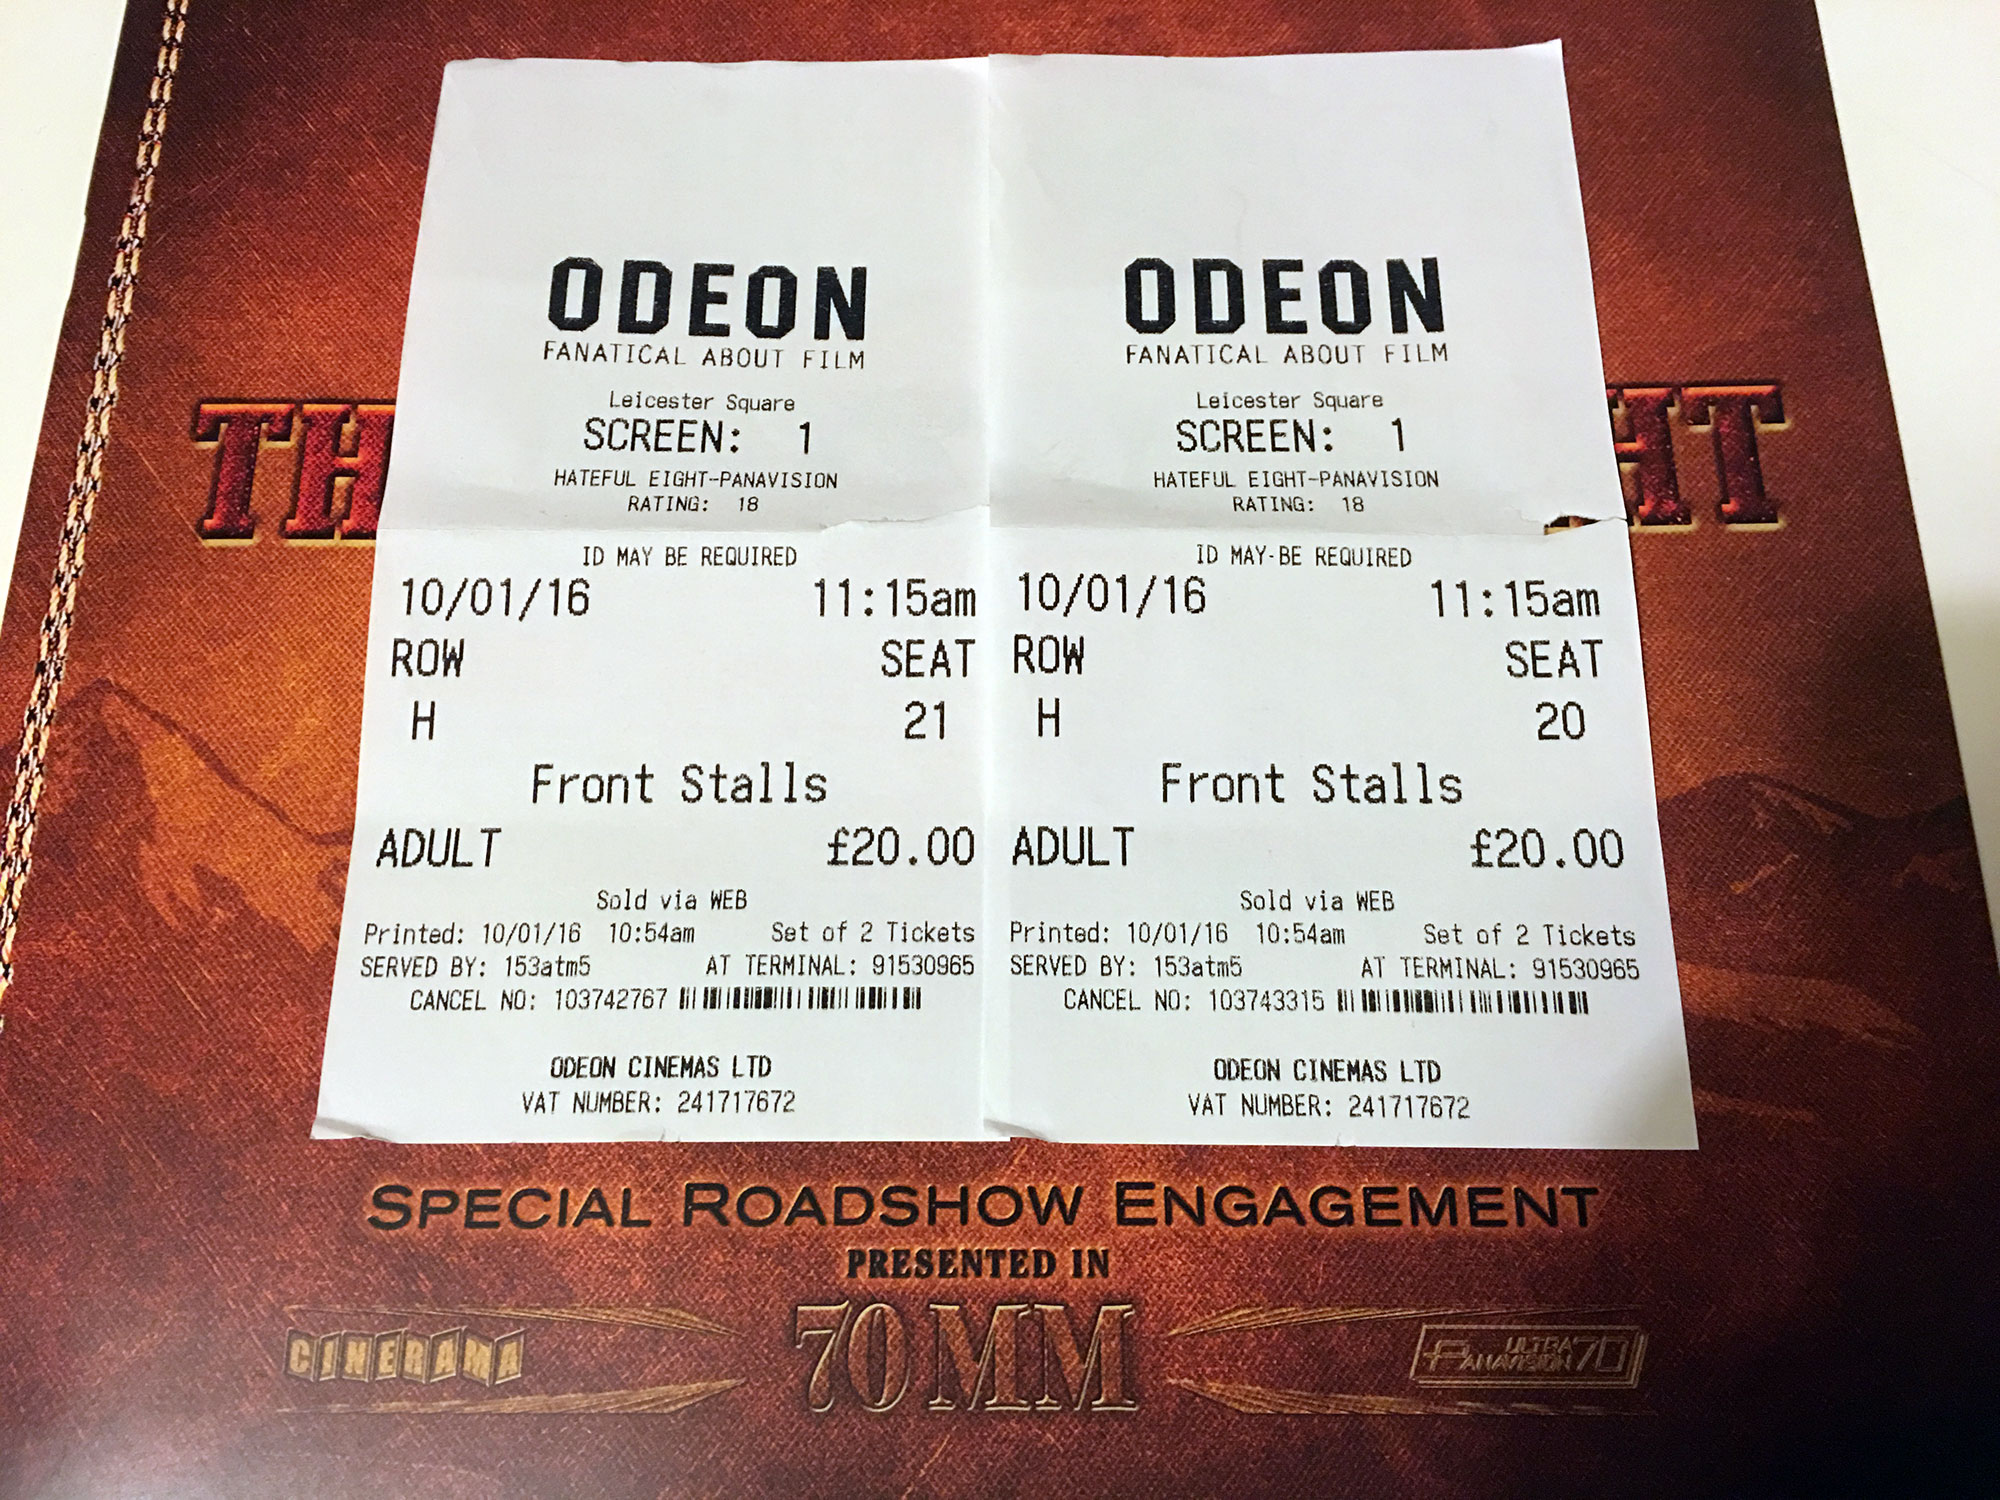
As Tarantino explained, considering the rarity of format it would be naive to think that film would be released across the world in Panavision 70 only. However you could do a so called roadshow - special event with overture, intermission, specially printed programme and extended version of the film. This used to be a thing back in 1960th, and sort of died nowadays. It was back in a time when audience would put on a dress when going to cinema. There are 5 locations in UK currently screening Hateful 8 in Panavision 70, and London got one of them - Odeon on Leicester Square. One of the very few 70mm projectors in town was put back to work.
Leicester Square is full of cinemas, even its tube station tiles made to look like film. I’ve been there precisely twice, both times before we actually moved to London. This city is full of amazing cinemas, but in all the honesty, Leicester Square is not the place to be. I guess my biggest beef with Odeon is the size of the screen compared to the size of the auditory. Nowadays all modern cinemas feature steep stairs and seating plan raising up - at the same time not too far from the screen itself. In the old days the screen was considered large enough if you could see it from the back. In Odeon Leicester Square when you sit at the very back of the cinema, you can cover the screen with your thumb. This was probably ok back in the days, but by modern measures you are suppose to be immersed into the screen (and sound). IMAX is the obvious example, but also Vue and Cineworld are following this idea with super large screens.
Speaking of old school cinemas - one of best and most authentic cinema experience in London you can find at the Olympic Studios in Barnes. A former legendary sound recording studio, nowadays refurbished into a most beautiful place to watch films. They also have Dolby Atmos. Red curtains are something like straight from David Lynch films.
Screen size at Odeon Leicester Square is decent, but far from being huge. You have to compensate this by sitting closer to the screen. It is also not curved. To accommodate ultra Panavision aspect ratio of pretty much 3:1 they had to crop the screen from top and bottom. In practice this means you're getting less screen space compared to the conventional aspect ratios - 1.85:1 or 2.39:1. In all the honesty there aren’t much original ultra wide screen cinemas left in the world. Wikipedia lists 3 of them (one is surprisingly located in West Yorkshire, not so far from Leeds).
Before start of the film there was something called overture. It’s again part of the old way of screening films, before ads and trailers. Overture would be printed on film with music, and would be projected while people are taking their seats. Music would also be part of the official soundtrack of the upcoming feature, putting audience into a proper mood. In practice however Odeon showed normal batch of ads, followed by trailers to all sort of films, including Batman vs Superman and Independence Day 2. Generally this part takes up to half an hour, at which point the audience is properly tired and waiting for the film to start. This is when overture kicked in. I’d say it was 3-4 awkward mins of music and a static picture. Unless you have read on history of cinema, you would be properly confused at this point.

Film starts with a bright snowy landscapes, and this is where another curious thing happens. The way films are projected on the screen is that half of the time you are watching darkness. A single frame is projected for a fraction of a second, then a rotary disc shutter closes the picture, film is advanced forward, and a new frame is projected. This happens 24 times a second, which gives you, well, 24 fps or 24 Hz refresh rate. This also produces a noticeable flicker. It is especially present on bright pictures. Like snowy landscapes, which are effectively bright white light flickering at 24 Hz. In digital cinema flicker doesn’t happen - pictures are still changing 24 times a second but the part when screen would be dark between pictures is absent nowadays. Our brain is smart enough to adapt to film flicker, and it was perfectly fine with it since the invention of cinema. Somehow for the past years of digital cinema I forgot how proper film flicker looks like. This is probably also true for Tarantino - otherwise he would put less bright scenes in the beginning of the film, or would even abandon idea of snowy landscapes completely.
Most of the landscapes are shown during first quarter of the film. After that we arrive to an undisclosed location, and the rest of it happens indoors. It is well shot, and things are often put in the opposite sides of the super wide screen. But for me indoors action doesn’t justify the chosen format. It could as well be shot on 35mm. Once Upon a time in the West is shot on 35mm, and it didn’t made it less epic. Most of it is shot outdoors, occasionally featuring places like Grand Canyon. Funnily enough, they share the same music composer.
After about 2/3 of the film it was intermission time. Lights went on, and people started moving. I have to mention that Odeon Leicester Square was full on this day. Considering that length of the intermission was about 10 min, queueing to the bathroom or getting more refreshments before the film would resume was out of the question. However everyone decided to try. A stranger dude next to me brought a big plate of nachos about 5 min into the part 2. Pretty soon he regretted his decision.
You see, part 2 is when all the bloody action starts happening. Film suddenly becomes very brutal, and this is when you recall R rating. Nacho dude forgot about his meal until the end titles. I was strongly regretting we haven’t left the cinema during the intermission. Watching bloody violence on 70mm ultra wide Panavision is not great. It’s pretty awful. I generally not able to enjoy such scenes - but then again it could as well be intention of the director - to shock the audience. In which case it indeed worked.
I deliberately waited a week to write few notes on Hateful 8 roadshow. For an attempt to revive old film format I give props to the team of filmmakers and Odeon. For the film itself - well I’d rather see something else. I’m one of those guys believing that cinema is suppose to deliver you into a state of something transcendental, enlightening, higher realisation. Something cathartic. Interstellar used 70mm 15perf format to achieve this. Hateful 8 didn’t.
And I’m going to West Yorkshire to see some more of Cinerama.